Here is a brief tutorial on how to use your new email address on your iPhone.
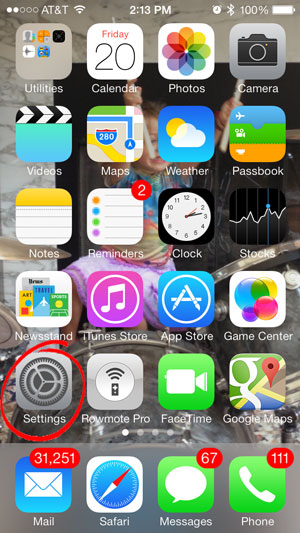 |
Step 1Find your way to your settings menu. |
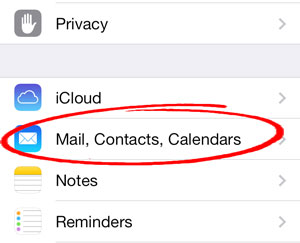 |
Step 2Look for your Mail settings menu. |
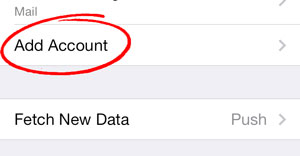 |
Step 3Add a New Account. |
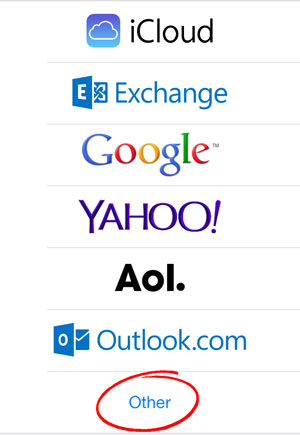 |
Step 4Select "Other Account". |
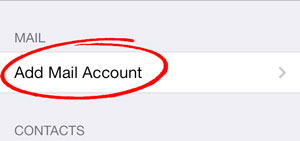 |
Step 5You just want the first option here ... add a mail account. |
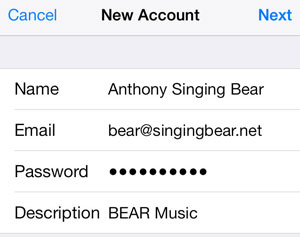 |
Step 6Ok, now for the juicy stuff. The first field "Name" will be the name that people will see when they receive your email. The "Email" and "Password" are of course self-explanatory. The "Description" will be how the account shows up on your iPhone. |
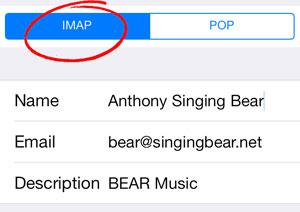 |
Step 7You really want to select IMAP in this case to make sure that any activity on your phone will also appear on your computer and ipad etc. |
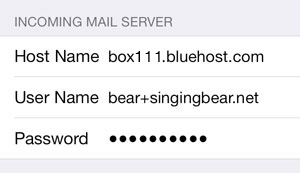 |
Step 8For hostname if your website is hosted with bluehost, you will find your box number in your bluehost cpanel settings. You can also use your domain as your server (i.e. mail.singingbear.net in this case) but it is best to use the box number to avoid any certificate issues. If you are using a different hosting platform, you can probably use something like mail.YOURDOMAIN.com. Check your host server for details. |
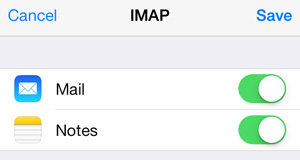 |
Step 9After you his enter, it make take several minutes for your account to verify. The reason it takes so long is because the service is looking for the appropriate port for your incoming and outgoing servers. On mac mail and outlook you can define the specific port to speed up this process. Once it has been verified you should see a screen like this. At this point your mail is set up. Follow the next 5 steps to make sure that your phone is synced with your desktop, in other words when you delete a message on your phone you want it to get deleted on your desktop as well. |
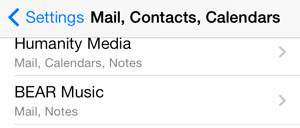 |
Step 10You have to go back to your mail settings page. You should now see your account on the list. Click on your new account name. In our case it was BEAR Music. |
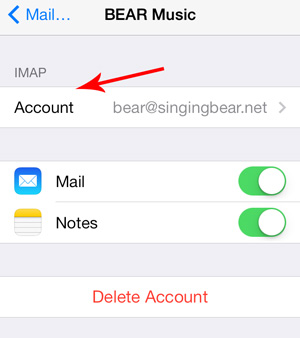 |
Step 11On this screen you want to click on your account name ... follow the red arrow. |
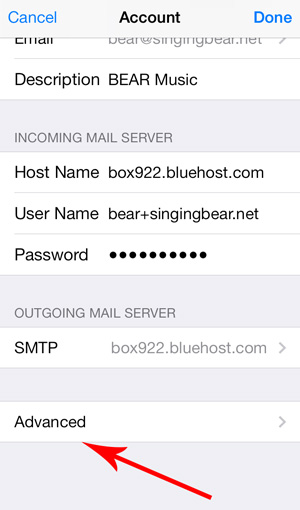 |
Step 12This screen is a where you are able to change all sorts of settings for your new email on your iPhone. Scroll all the way down this screen to the last option where it says "Advanced" and click there. |
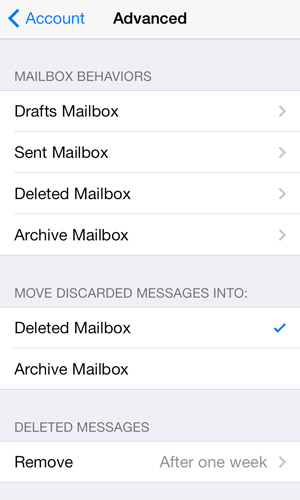 |
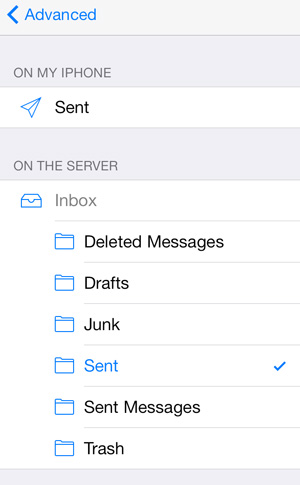
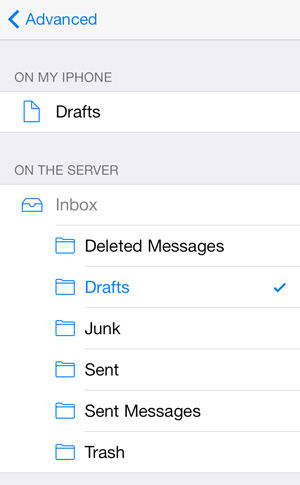
Step 13Here you simply have to assign your Drafts to go to the drafts folder on your server (in stead of your phone) and the trash to go to the trash folder on your sever, etc. This way, the information will get filed away on your server and therefore all of these changes will be reflected on your desktop as well. I hope this helps you get set up. Leave any comments below if you get stuck and I will try to answer them. Thanks. |
 |
 |

0 Comments